
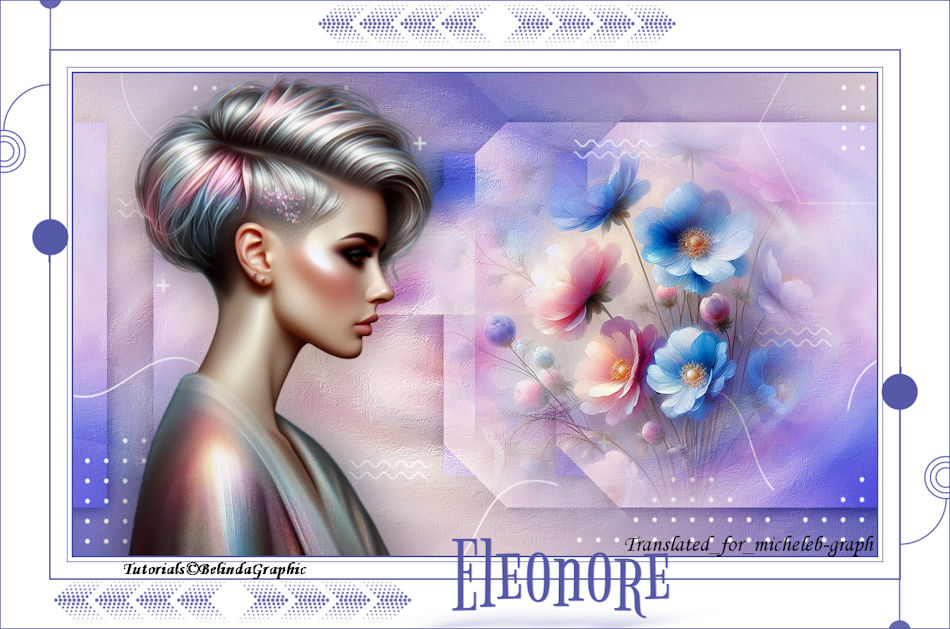
For my personal
version, thank you to Cat Dana for her character hit and
to Tina for sharing her Flowers image.
Thank you to
Belinda for allowing me to translate her tutorials into
English.
link to the original under the banner
Material

The mask comes from the
Pinterest site
HERE
The rest of the
material belongs to Belinda and is exclusively reserved
for the use of this tutorial.
Double clic sur le
"Preset Eleonore" pour le placer dans le bon dossier.
***
Color

filters used
Simple - Pizza Slice
Mirror
Alien Skin - Eye Candy5 - Perspective Shadow
1
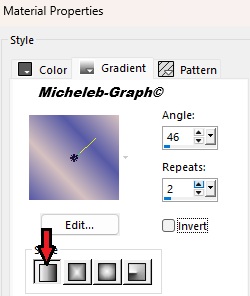
Prepare a gradient configured as follows:
File > Open a new document of 1000*650 pixels,
transparent.
Paint Bucket Tool > Pour the gradient into the layer.
2
Selections—Select All.
Layers > New raster layer.
Note the Background-eleonore<BG. Edition > Copier.
Edition > Paste into selection.

3
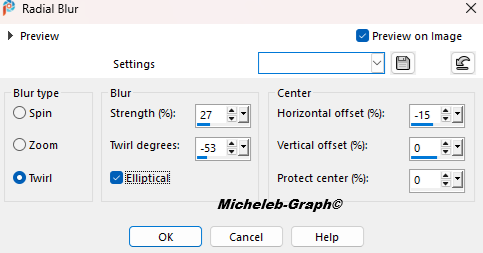
Setting <Blur<Radial blur.
Effects < Image effects > Mosaic without joins.
Layer blending mode: Overlay
4
Layers > Merge visible layers.
Layers > Duplicate.
Stay on the "Merged copy" layer.
Image > Resize this layer to 80% "All
layers NOT checked"
5.
Position yourself
on the bottom layer.
Effects > Art Media Effects < Brush strokes.

6
Go back to the top
layer.
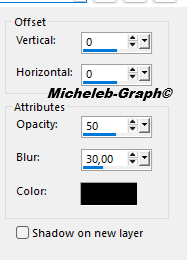
Effects < 3D effects > Drop shadow 0 0 50 30 of color
#000000.
Effects <External modules > Simple‐Pizza Slice Mirror.
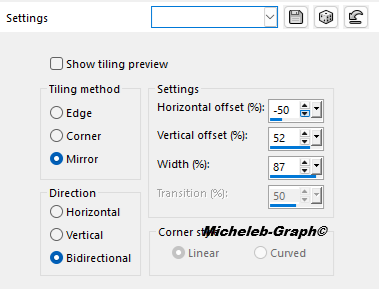
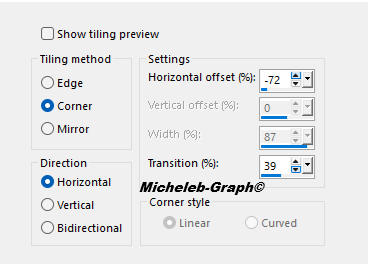
Effects < Image effects >
Simless Tiling
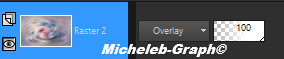
Layer blending mode: Overlay

7
Layers > New
raster layer.
Paint bucket tool > Fill the layer with color 3

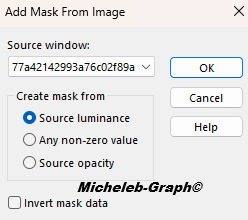
Take
out the mask 77a42142993a76c02f89ab06be96d5b0.
Layers > New mask layer<From an image.
Setting > Sharpness < Sharpness.
Layers > Merge the group.
8
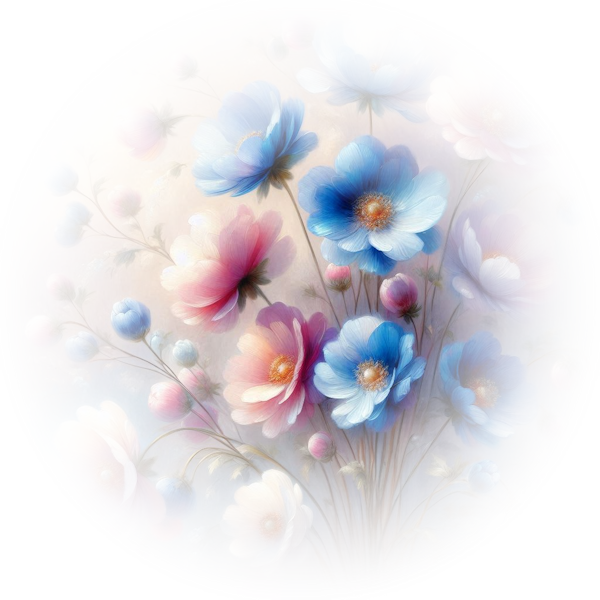
Take down the
flowers-eleonore—BG. Edition > Copy.
Edition > Paste as new layer.
Objects < Align > Straight.
Setting > Sharpness <
Sharpness.
Edition > Repeat Sharpness.
9
Note the eleonore-BG layer.
Edition > Copy.
Edition > Paste as new layer.
Image > Resize this layer to
67%.
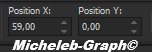
Select Tool (K).
HORIZ POS: 59 GREEN POS: 0
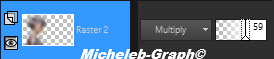
10
Layers > Duplicate.
Position yourself on the layer
below.
Setting - Blur - Gaussian Blur at 30
Layer blending mode: Multiply
&Opacity: 59%.
11
Image > Add 2-pixel borders with color 1

Image > Add 5-pixel borders color 3
Image > Add 1-pixel color borders 1
Image > Add 20-pixel borders color 3
Image > Add 2-pixel borders color 1
Image > Add 60-pixel borders color 3
12
Take down the deco-1-eleonore layer. Edition > Copy.
Edition > Paste as new layer.
Position on the left corner.
Layers > Duplicate.
Image < Mirror > Horizontal mirror.
Image < Mirror > Vertical mirror.
13
Note the text-eleonore layer. Edition > Copy.
Edition > Paste as new layer.
Select Tool (K)
HORIZ POS: 561 GREEN POS: 710

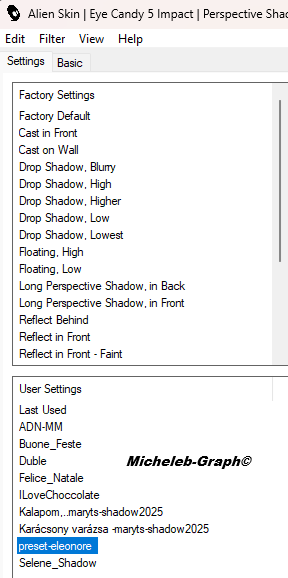
14
Effects < External modules >
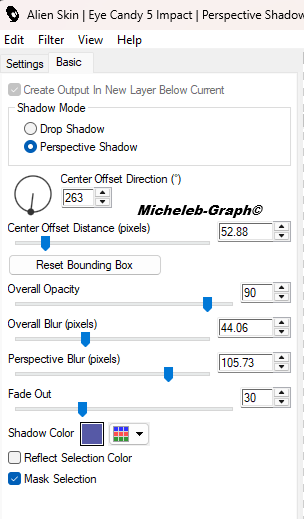
Alien Skin Eye Candy5: Impact>Perspective Shadow.
Select the Preset-Eleonore.
Adapt the color of the shadow
to the colors you have selected.
15
Take down the deco-2-eleonore
layer. Edition > Copy.
Edition > Paste as new layer.
Place as on the template when
duplicating the layer.
16
Add your signature on a new
layer.
Add Belinda’s signature
Add my signature Translation
Micheleb-Graph
Image > Add 1-pixel color
borders 1
Image > Resize to 950 pixels
wide.
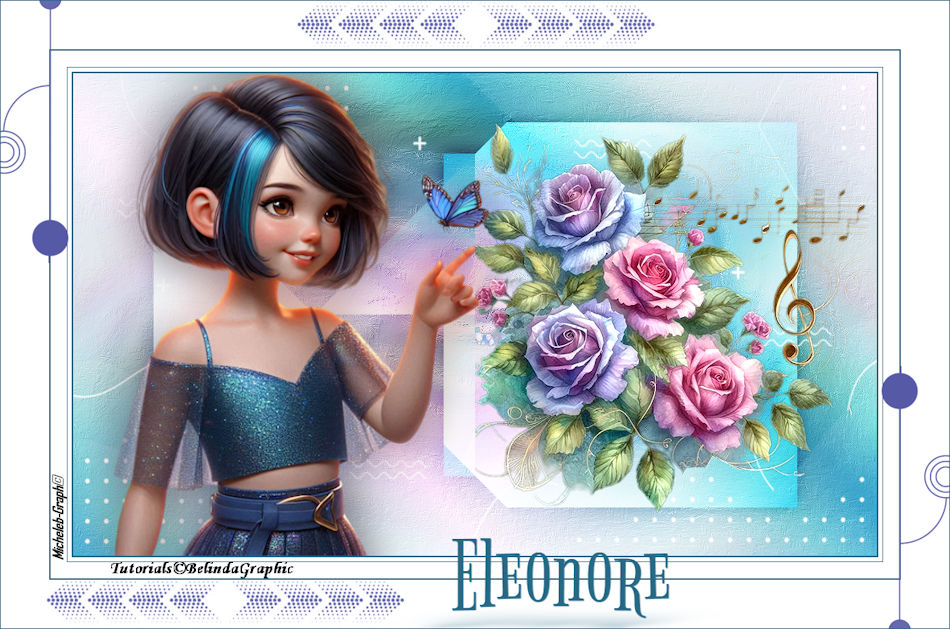
File > Save as JPEG.
Your creation is finished, you can send it to me by
email

INDEX

Ce(tte) œuvre est mise à disposition selon les termes de la
Licence Creative Commons Attribution -
Pas d’Utilisation Commerciale - Pas de Modification 3.0 France. |
|
|