


I thank Naise M for allowing me to translate her tutorials into
English
Tutorial created by Naise
M
All rights
reserved
Material :

Filters :
Alien Skin - Eye Candy 5 - Impact: Glass
*#Preset_lauvitelli*
Colors:
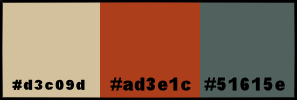
1
Open the tube
Background
*do you paste it as a new image
2
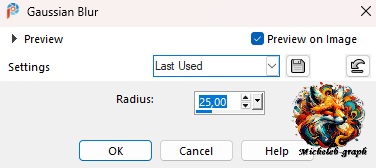
Setting - blur - gaussian
blur
3
Open a new layer
Fill with
color #d3c09d
4
Open and minimize the
Narah_mask_0808 mask
Layers -
new mask layer
Apply the
Narah_mask_0808 mask
Image -
reverse ?????
Layers -
merge - merge the group
Effects -
edge effect - accentuate more
5
Image - seamless mosaic -
Default
6
Layers - new layer
Fill with
color #ad3e1c
7
Open and minimize the
mask Narah_mask_0807
Layers -
new mask layer
Apply the
Narah_mask_0807 mask
Layers -
merge - merge the group
8
Effects - 3D - drop
shadow
2 -
-2
-
100 - 2,42 - #000000
9
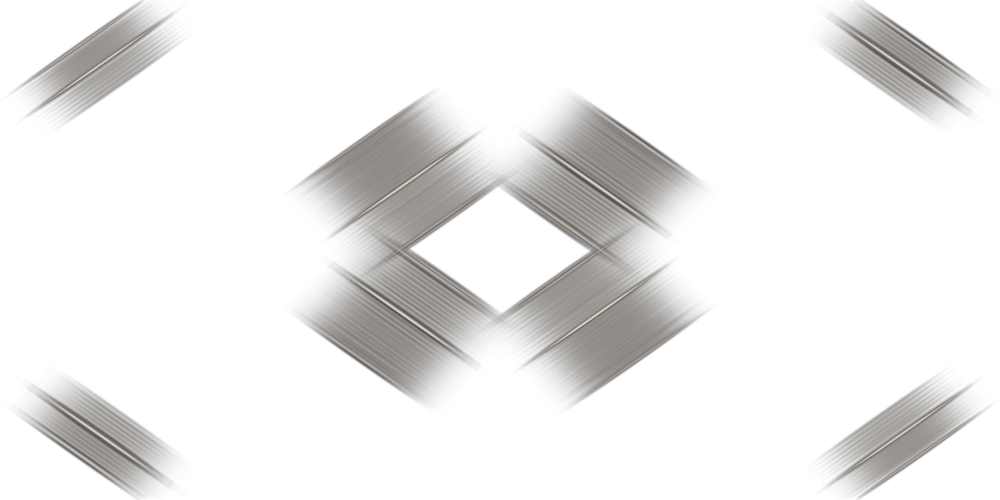
Open and copy the deco1_lauvitelli
tube
Paste as a new layer
Effects - side effects - accentuate
10
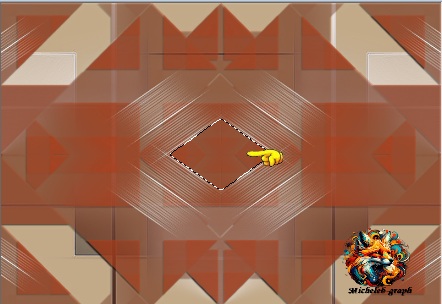
Activate your magic wand
tool
*Tolerance and Progressivity at 0*
Select the center of the diamond
11
Layers - new layer
Fill with color #ad3e1c
12
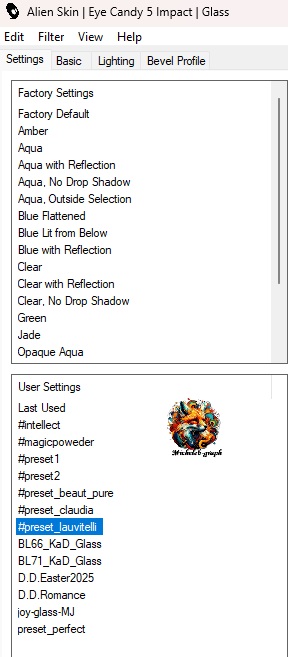
Filtres - Alien Skin -
Eye Candy 5 -Impact - Glass
Apply the preset #preset_lauvitelli
Selections - do not
select anything
13
Layers - Duplicate
14
Object - align - left
15
Layers - duplicate
16
Object - align - right
Layers - merge - merge 2x layer from
below
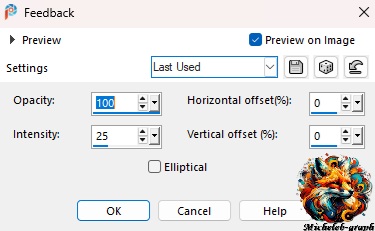
17
Effects - reflection effects -
feedback
18
Activate the Raster Group 1 layer
Blending mode - Darken further
19
Activate the upper layer (at the top
of the stack)
20
Open and copy the deco2_lauvitelli
tube
Paste as a new layer
21
Image - add borders
*symmetrical unchecked*
#9a361c
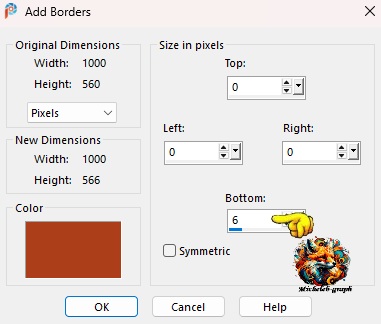
Repeat the operation
#51615e
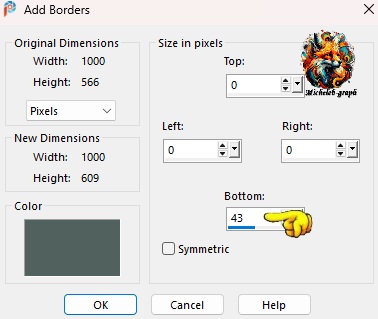
Repeat the operation once again
22
With your magic wand select the blue
part
*Tolerance and escalation to 0*
23
Layers - new layer
Fill in with #ad3e1c
Layers - load/save mask - Load mask from disk
Apply the mask - 0_5e3a2_6

Layers - merge - merge the group
Selections - do not select anything
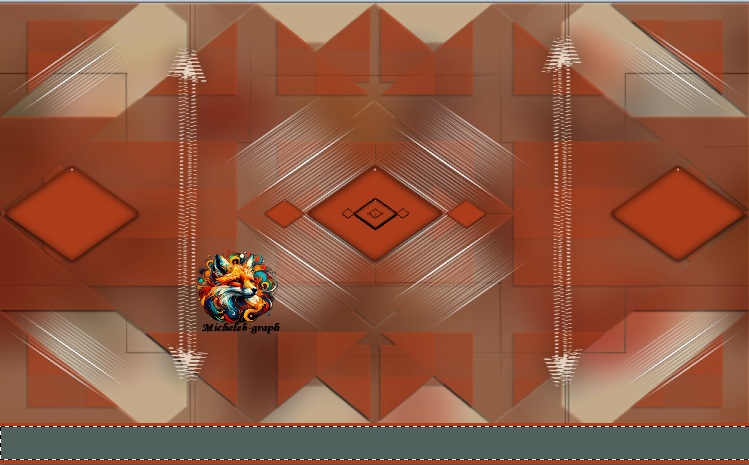
24
Layers - duplicate
Images - mirror - horizontal mirror
25
Position (K on your keyboard)
Pox X: 94 - Pos Y: 580
Press "M" to disable
26
Open the tube_exclusivo_lauvitelli
Image - resize to 90%
27
Copy and paste as a new layer
Position to the left
28
Open and copy the title
Paste as a new layer
29
Position (K on your keyboard)
Pos X: 321 - Pos Y: 405
Press "M" to disable
30
Add your signature
Add the signature of NaiseM
Add my signature Translation
Micheleb-Graph
Layers - merge - merge all
31
Save as. Jpg
Your creation is completed, you can send it to me by email.

Tutorial create the 9 -
10 - 2025
Translated
on 18 - 10 - 2025
My version :
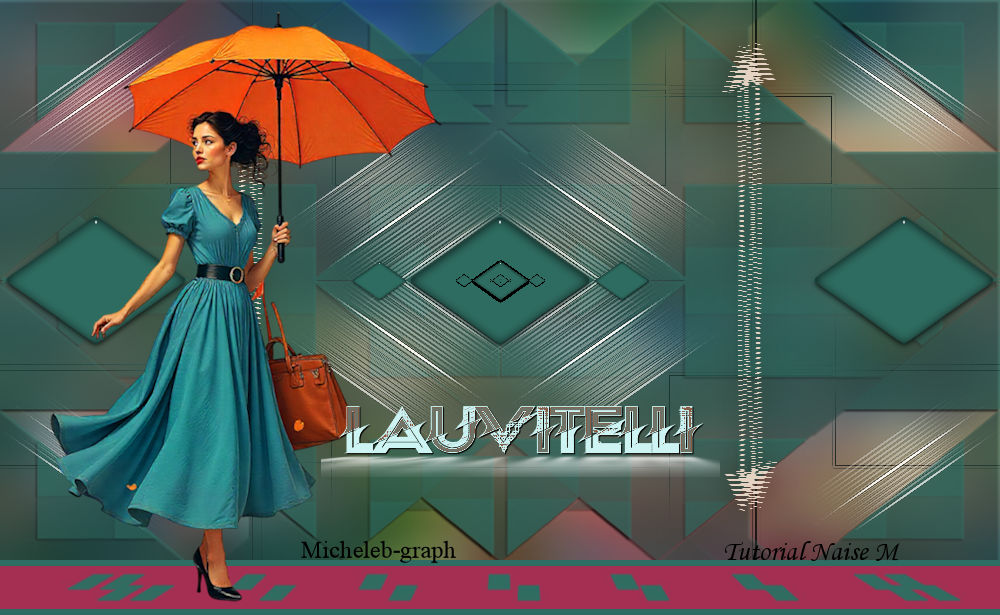
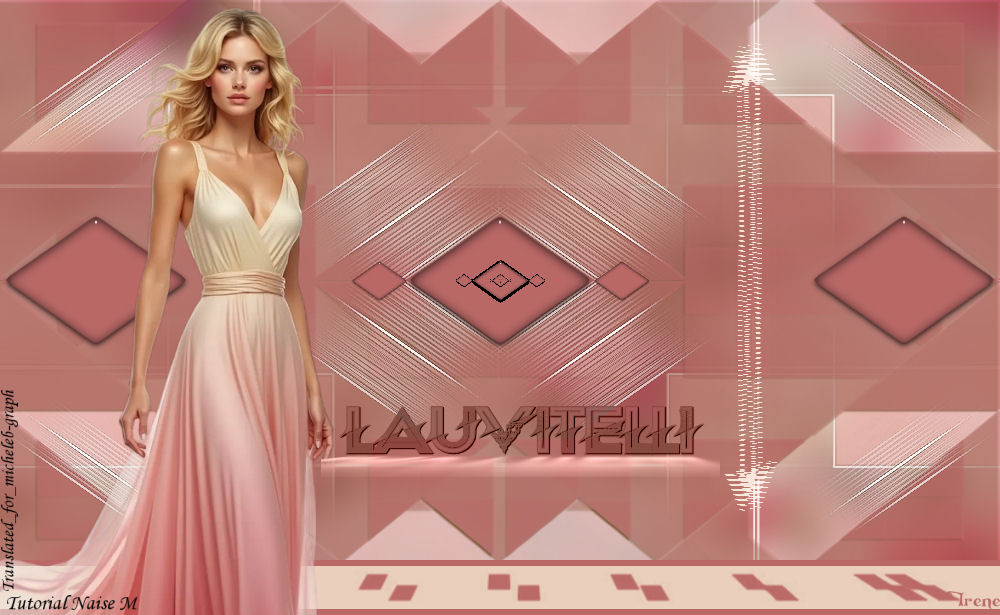
Version of my tester :
I rène
Gallery
Index

Ce(tte) œuvre est mise à disposition selon les termes de la
Licence Creative Commons Attribution -
Pas d’Utilisation Commerciale - Pas de Modification 3.0 France. |