Tutorial created by NaiseM
All rights reserved
13.06.2025
Material

Filters
Carolaine & Sensibility
Unlimited 2.0 - Toadies
Alien Skin - Eye Candy 5 - Impact: Glass
Install filters in the corresponding folders,
Open the tubes in Psp, duplicate them and close originals.
1
Open and copy tube_magicpowder
2
Open alpha
Apply a solid color #ac8769
3
Paste as new layer
4
Adjust - Blur - Radial Blur in the settings below
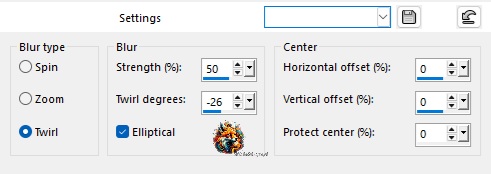
5
Layer - duplicate
6
Image - free rotate in the settings below
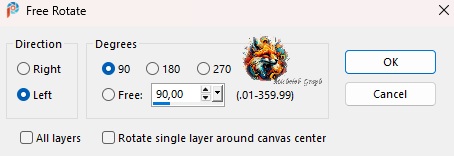
7
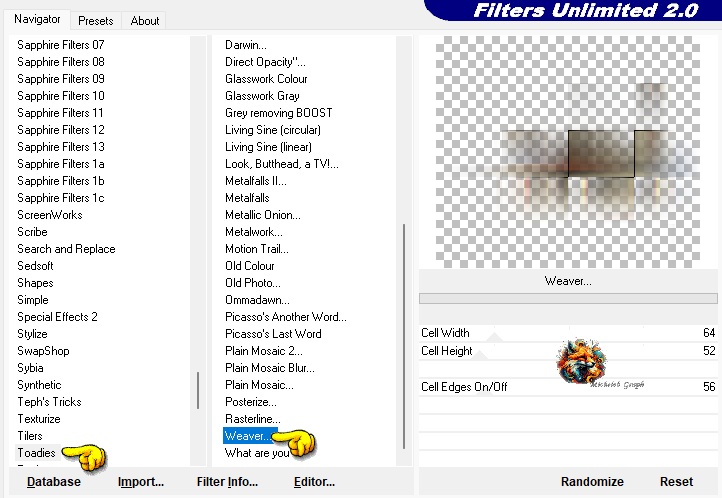
Unlimited 2.0 - Toadies - Weaver in settings down
8
Objets - align left
9
Layers - duplicate
10
Image - free rotate in the settings below:
11
Objets - align Right
12
Layers - new raster layer
Apply the selection alpha_magicpowder_1
Apply a solid color #7f5d42
13
Filters - Carolaine & Sensibility - CS-Texture in the settings below
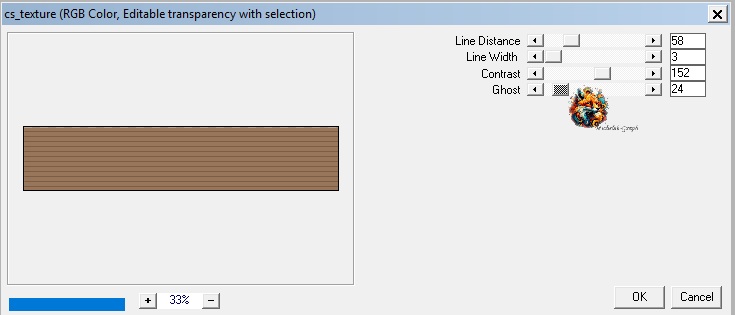
Selections - select none
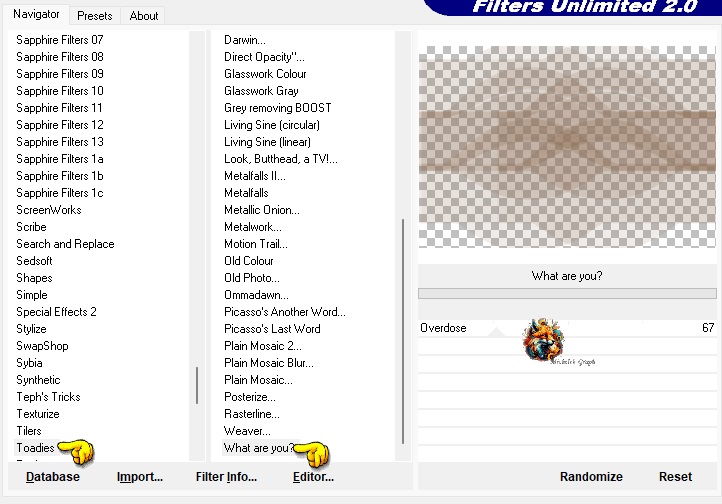
14
Filters - Unlimited 2.0 - Toadies - What are You?
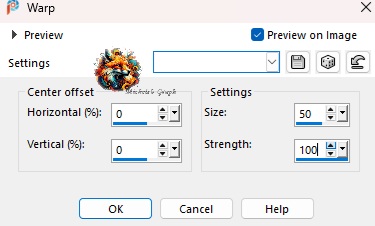
15
Effects - distortion effects - Warp
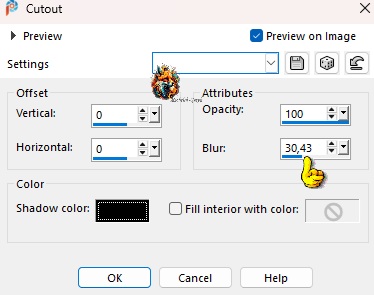
16
Effects - 3D - Cutout
17
Layers - new raster layer
18
Apply the selection alpha_magicpowerd_2
Apply a solid color #7f5d42
19
Selections - modify - contract from 36
Click the delete key
Selections - select none
20
With the magic wand - tolerance and feather on 0
Select this circle
21
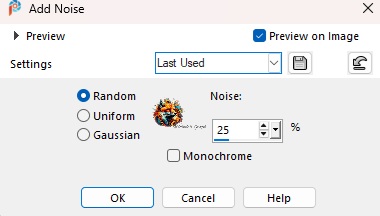
Effects - effects Browser - Add Noise - Add grain 4
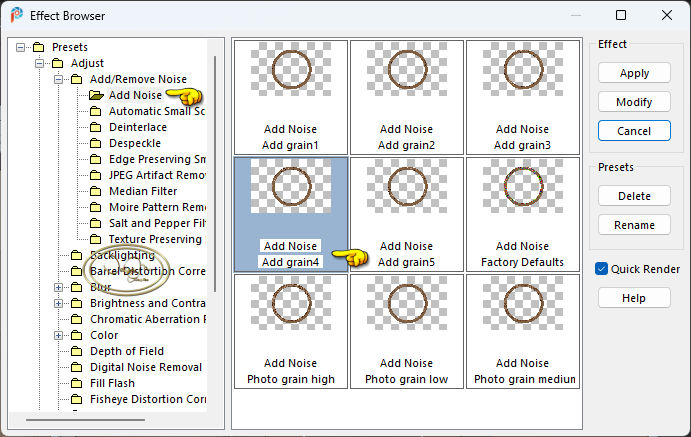
*Or do adjust - add/remose noise - add noise at 25*
22
Filters - Alien Skin - Eye Candy 5 - Impact: Glass
Apply the prest_magicpowder
Selections - select none
23
Click on Raster 1 - Duplicate
24
Image - free rodation
*As previously*
Effects - Seamless Tiling - Side by Side
in settings down:
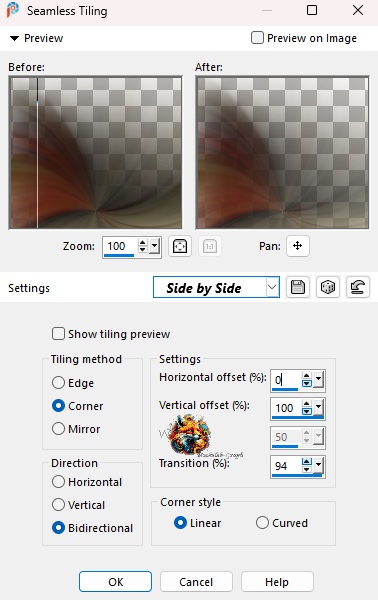
25
Layers - arrange - Bring top
Layer porpierties - Blend Mod - Overlay
26
Open deco_magicpowder
Copy and paste as new layer
27
Fusion mode: Leave luminance (1)
28
Layers - new Raster layer
Apply solid color #a98161
Layer - new mask layer - from an image
Apply Mask Narah 1782
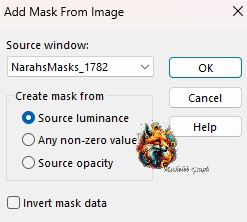
Layers - merge - merge group
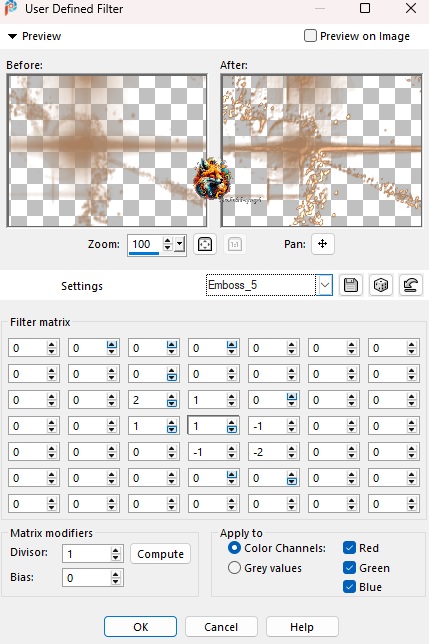
User defined filter - Emboss 5
29
Edit - Copy Special - Copy merget
30
Image - add border - symetric marked
Size 15 - color #7f5d42
Selections - select all
31
Size 55 - any color
Selections - invert - Edit past into
32
Adjust - blur - radial blur
*As previously*
33
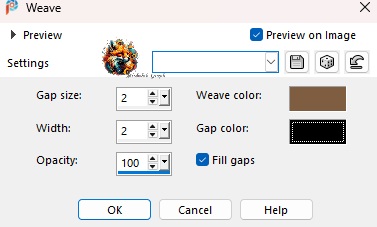
Effects - Texture - Weave
34
Selections - invert
Effects - 3D - drop shadow
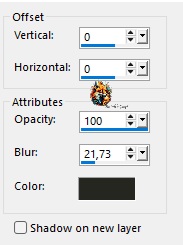
Selections - select none
35
Image - add border - symmetric marked
Size 15 - color #7f5d42
36
Applies tube_exclusivo_magicpowder on the side left
37
Open Texto_magicpowder
Copy and paste as new layer
Position (K on your keyboard)
Press "M" to disable
38
Sign the work and apply the watermark NaiseM
And apply my watermark Translation Micheleb-Graph
Layers - merge - merge all
Save as to Jpg.
Your image is finished
You can send it to me by email

I will be happy to put it in the tutorial gallery
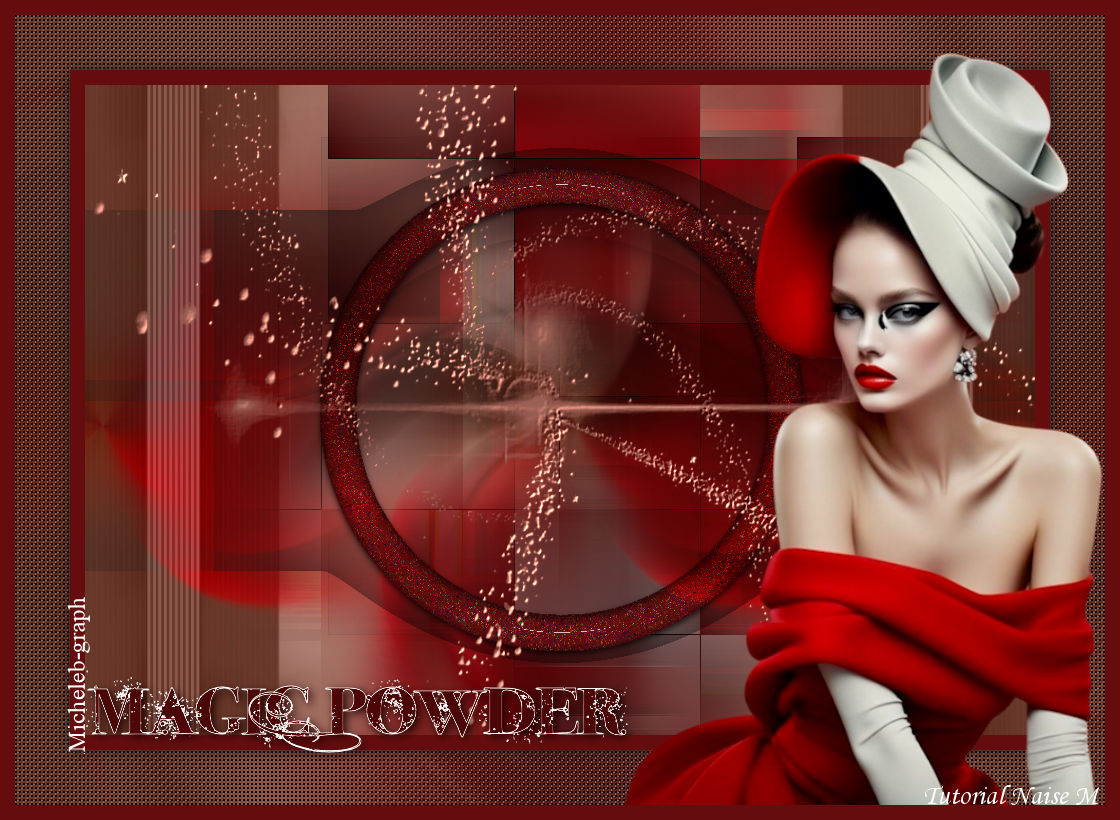
My version:
My tester: I_rène
Gallery Index

Ce(tte) œuvre est mise à disposition selon les termes de la Licence Creative Commons Attribution - Pas d’Utilisation Commerciale - Pas de Modification 3.0 France.