 Lesson original by Eugenia Clo created on april 12, 2025 ©Eugenia-Clo 2016/28 – all rights reserved
Matérial :
Woman3259_byClo MistedPaesaggio154_byClo Element 1 - Element 2 + Element 3 Flowering_ByClo Selections flowering1 & flowering 2 Watermark Clo ©Creation Watermark Translated Micheleb-Graph *** Filters
VM Distortion MuRa's Meister AP 01 [Innovations] or AP Lines - Lines - Silverlining Andrew' Filter Collection 56 *** Install filters you don't have in the corresponding folder before you open your Psp. Open your tubes in Psp, duplicate them and close the originals, don't forget not to save regularly, an untilmely closure of Psp is always to be expected. **** 1 Colors
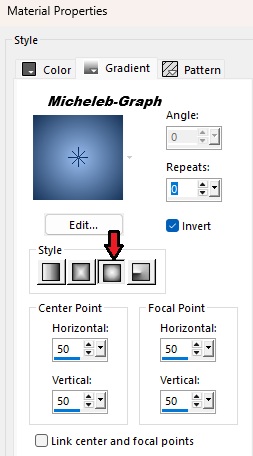
Foreground: #173358 -
Background: #97bcef
2
Open a new transparent image of 1000 x
800 px
4
Open and copy Element 1
5
Layers - merge - merge
layer from below
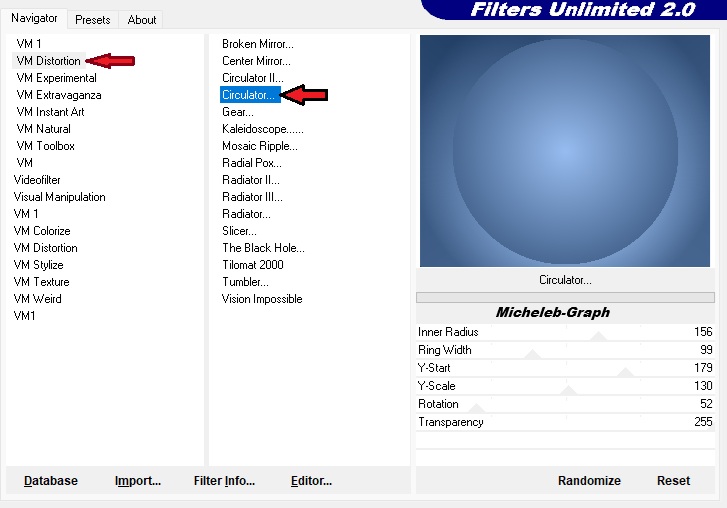
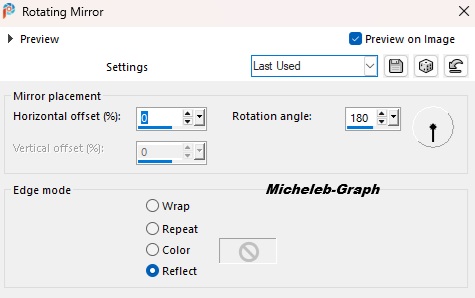
6 Effects - reflexion effects - rotating mirror
7
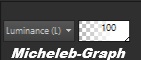
Select the transparent part with your magic wand - Progressivity
at 30 8
Open and copy item 2
9
Open and copy item 3
10 Selections - from disk - load flowering1 selection
11
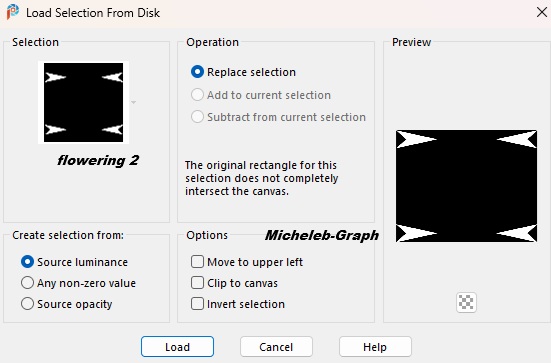
Layers - new layer 12 Selections - from disk - load flowering2 selection
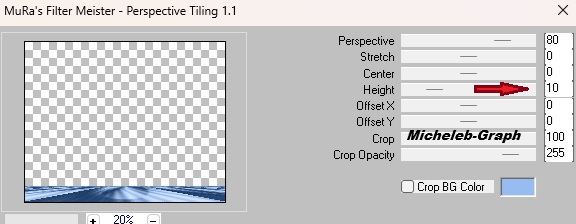
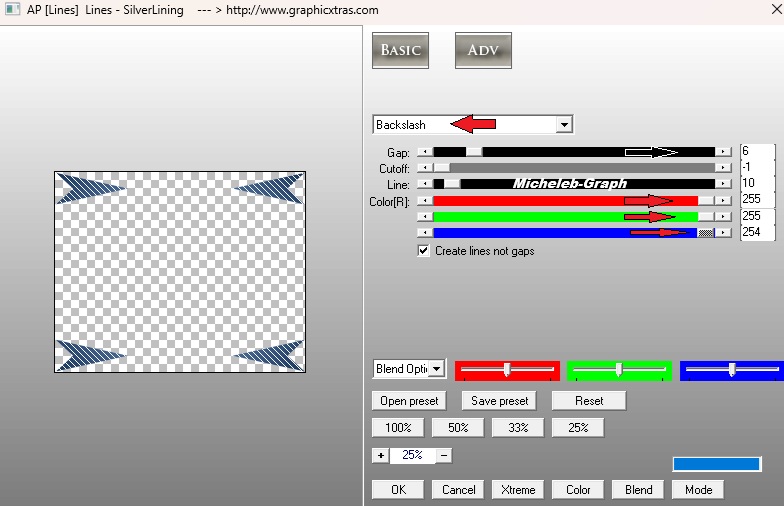
Layers - new layer 13 Filters - AP 01 [Innovations] or AP Lines - Lines Silverlining
14
Layers - duplicate
15
Open and copy flowering_byClo
16
Layers - duplicate
17
Open and copy Woman3259_byClo
Image - resize to 70%
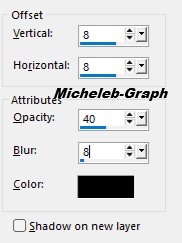
18
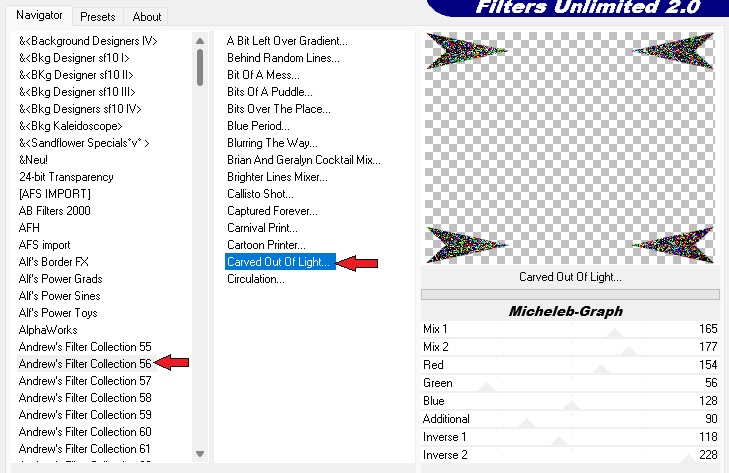
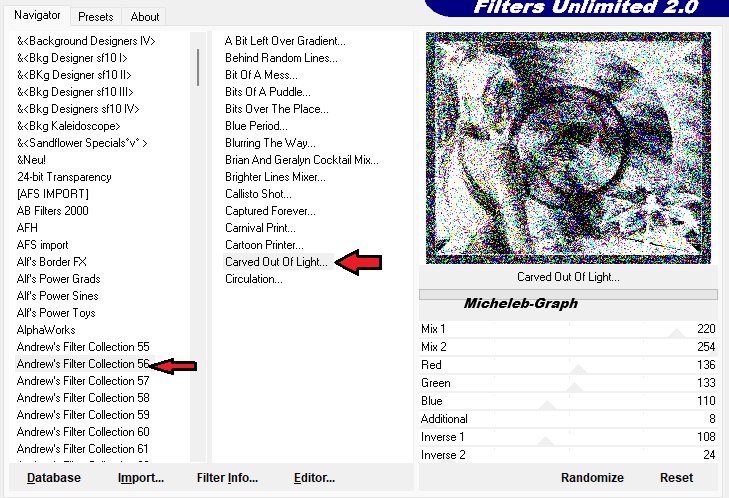
Image - add borders 19 Filtres - Unlimited 2.0 - Andrew' Filter Collection 56 - Sculpté dans la lumière
20
Adjustment - sharpness - more sharpness
21
Add your signature and/or
watermark *****
Your image is finished
My version :
Thank you to Colybrix for her women and flowers hits
as well as to Cat Dana for her landscape hit My tester's version : Irène
|