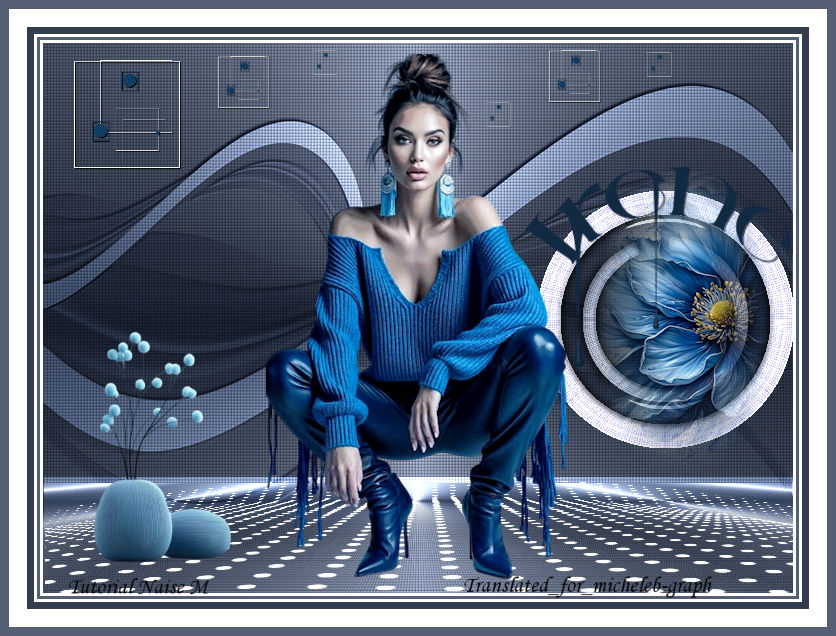
  For my personal version, the images come from Pinterest and are clipped by me.  I thank NaiseM for allowing me to translate their tutorials into French. The link to the original lesson HERE
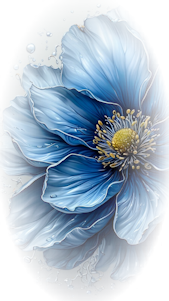 Colors  Foreground: #1d2533 Background: #909cb7 1 Open a new 750 x 550 transparent image 2 Make a foreground radial gradient 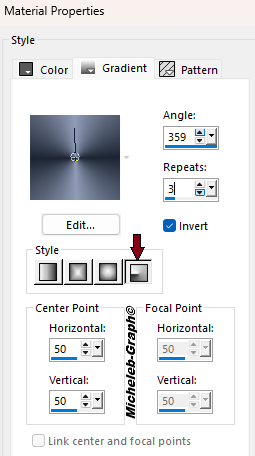 3 Effects - texture effects - Texture - Grid 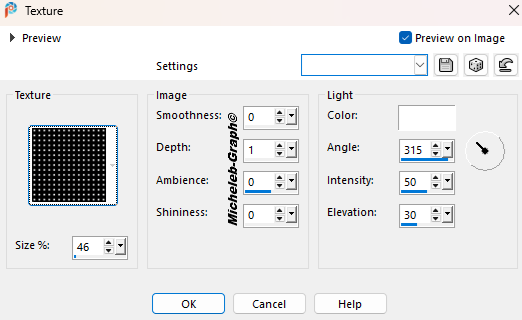 4 Change the background color to white Layers - new layer Fill in with the color white 5 Layers - load from disk - apply Narah_mask_0397 mask 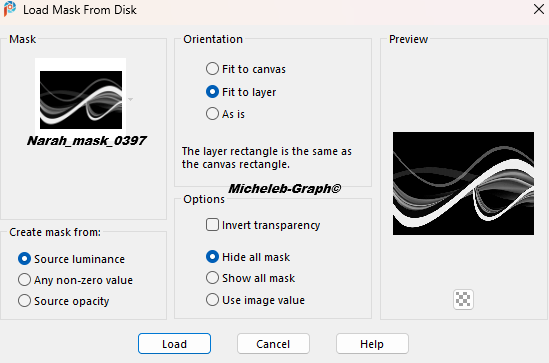 Layers - merge - merge the group 6 Effects - 3D - Drop shadow 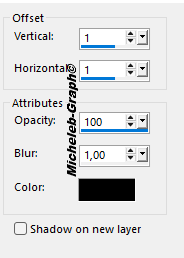 Adjustment - sharpening - sharpening Repeat the same drop shadow but with color #30364b 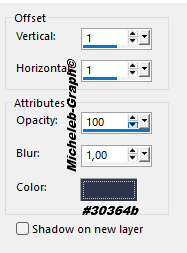 7 Open and copy decor_nmcriacoes_146 Paste as new layer Position (K on your keyboard) 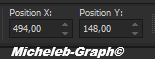 "M" to deactivate You can colorize it according to your colors. 8 Open and copy the Misted Paste as new layer Position (K on your keyboard) 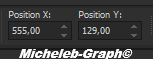 "M" to deactivate Layers - merge - merge layer below 9 Enable Raster Group 2 Layer Images - mirror - horizontal mirror Image - mirror - vertical mirror 10 Merge Mode - Overlay 11 Enable Raster Layer 1 Layers - duplicate 12 Filters - MuRa’s Meister - Tiling Perspective 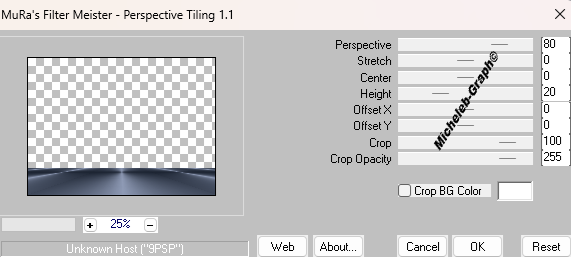 13 Layers - new layer Fill in with the color white 14 Layers - load from disk - apply the Narah_mask_0515 mask 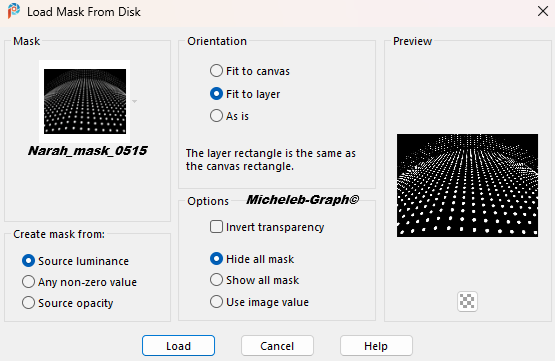 Layers - merge - merge the group 15 Position (K on your keyboard) 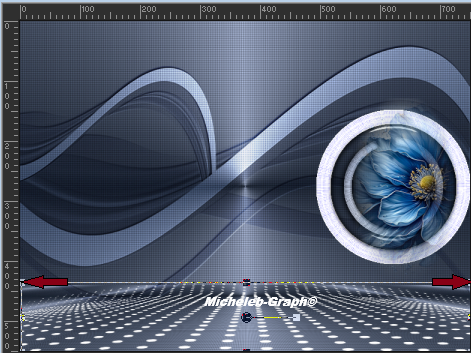 "M" to deactivate 16 Open and copy Deco 2 Paste as new layer Position (K on your keyboard)  "M" to deactivate 17 Images - add borders 3 px - white color 3 px - #566075 3 px - white color 7 px - #333b4c 3 px - white color 18 Open and copy title Paste as new layer Position (K on your keyboard)  "M" to deactivate You can colorize it according to your colors. 19 Open and copy the main tube Paste as new layer He is well positioned 20 Open and copy the decoration 3 Paste as new layer Position (K on your keyboard)  "M" to deactivate 21 Open and copy the vase tube Paste as new layer Position (K on your keyboard)  "M" to deactivate 22 Add your signature Add NaiseM’s signature Add my signature Translation Micheleb-Graph 23 Images - add borders 15 px - white color 9 px - #566075 Save as. Jpg Your creation is complete Can you send it to me by email  Version of my tester Irene 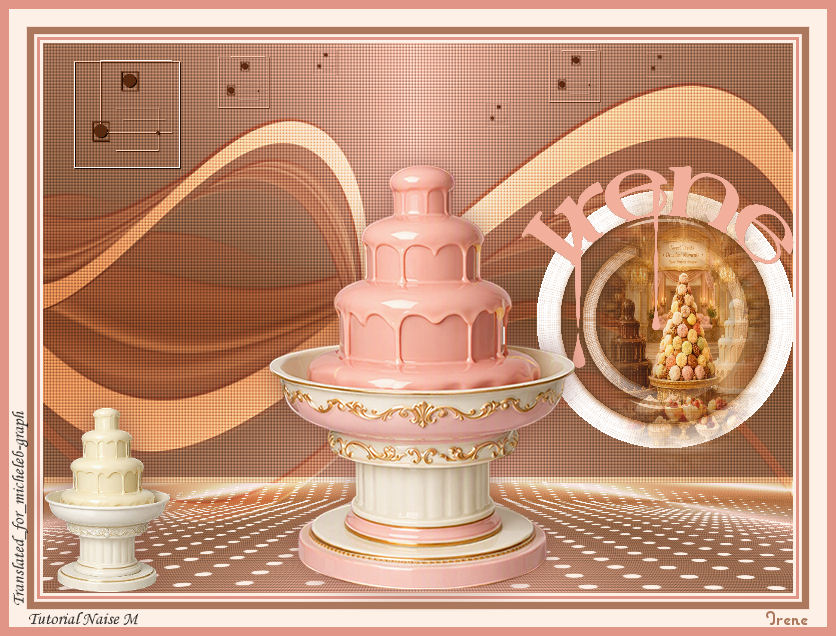 INDEX  Ce(tte) œuvre est mise à disposition selon les termes de la Licence Creative Commons Attribution - Pas d’Utilisation Commerciale - Pas de Modification 3.0 France. |


