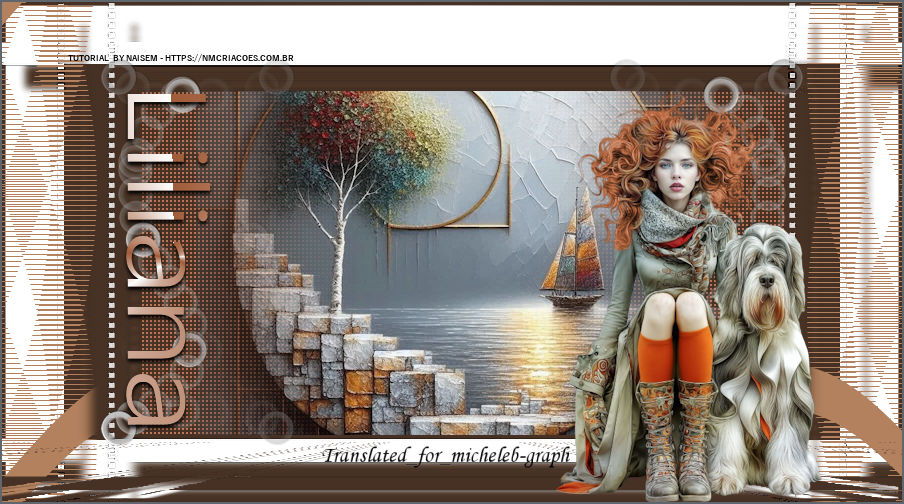
  For my personal version, the character and landscape tubes were found on Pinterest and clipped by me. 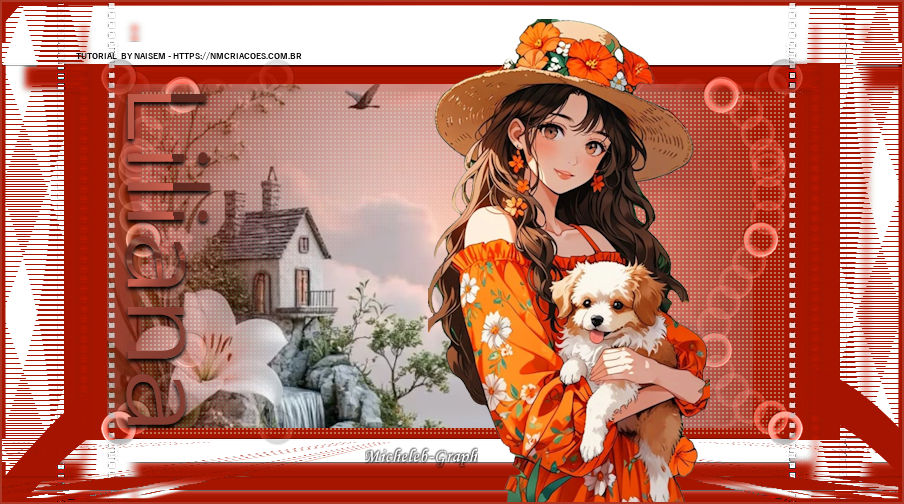 Tutorial completed and translated with Psp 2022 Thank you to NaiseM for allowing me to translate their tutorials into French. The link to the original lesson is HERE 
1 Foreground: #463124 Background: #FFFFFF 2 Open a new transparent image of 900 x 500 px Fill with foreground color 3 Filters - Richard Rosenman - Solid Border color #FFFFFF 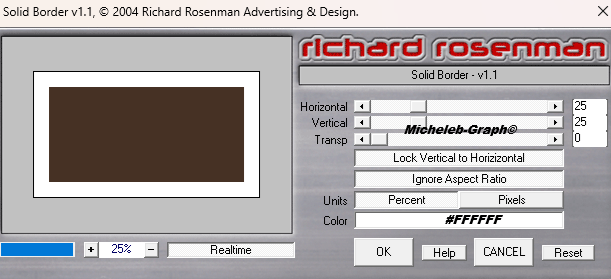 4 Selections - select all Selections - edit - select borders 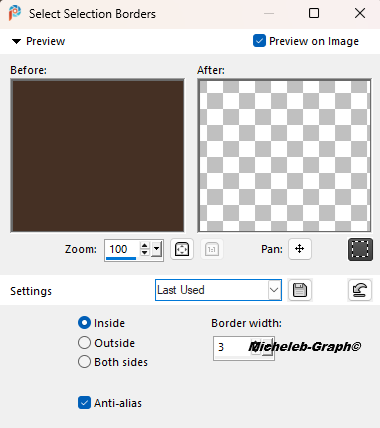 Fill with foreground color  5 Layers - new layer Fill with background color 6 Layers - new mask layer - from an image 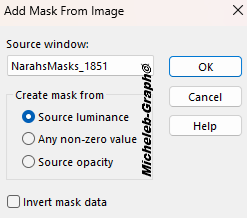 Layers - merge - merge the group 7 Effects - 3D - drop shadow - #463124 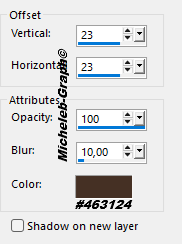 Effects - edge effects - accentuate more 8 Layers - new layer 9 Selections - load from disk - #select_liliana 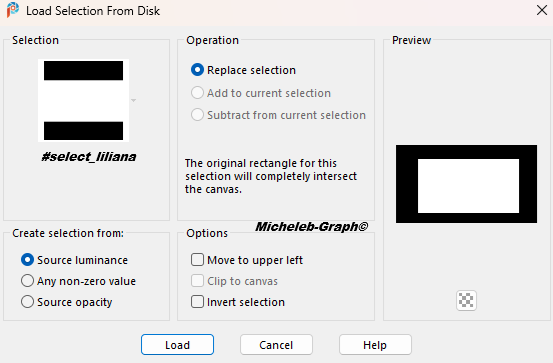 10 Open and copy the misted_liliana Paste as new layer Images - resize 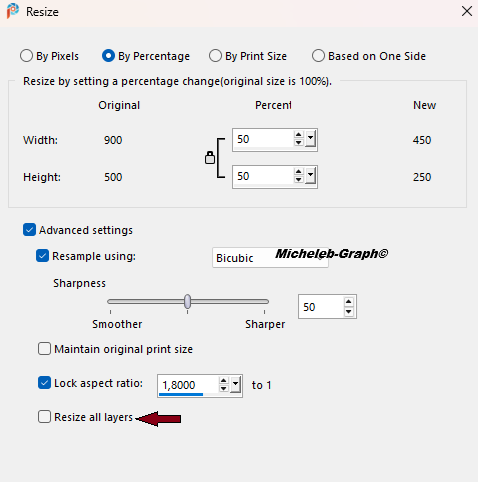 11 Selections - reverse Press the "del" key on your keyboard 12 Open and copy the deco1 Paste as new layer Do not touch - position correctly 13 Enable Raster Layer 1 Apply the liliana selection again Selections - transform the selection into a layer Effects - texture effects - Textile 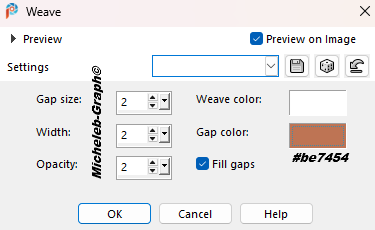 14 Enable Raster Group 2 Layer Layers - duplicate 15 Filters - MuRa’s Meister - Tiling Perspective 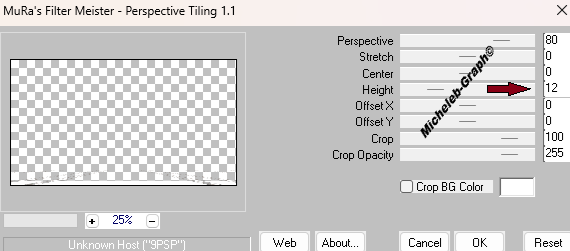 Merge Mode - Exclusion 16 With the "color changer" tool Apply foreground color #463124 Merge Mode - Normal This part is just for those who use Psp2022 Ultimate 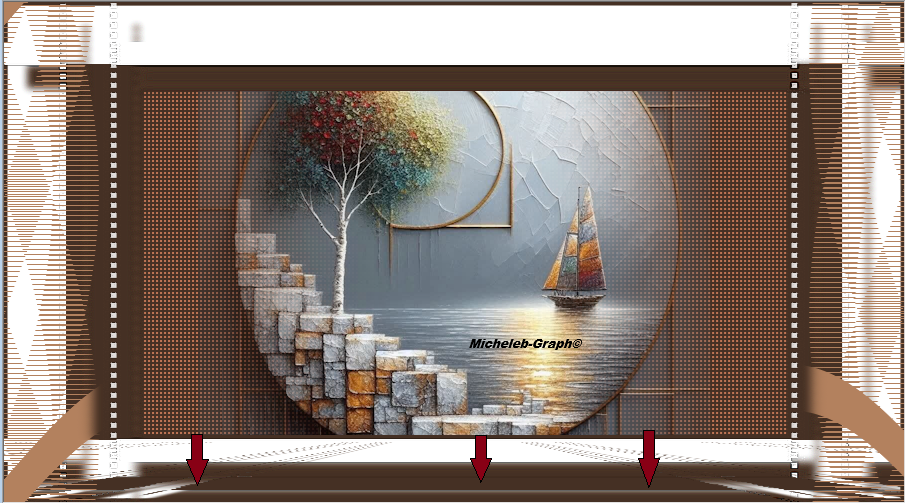 Those who do not use it should have the following result 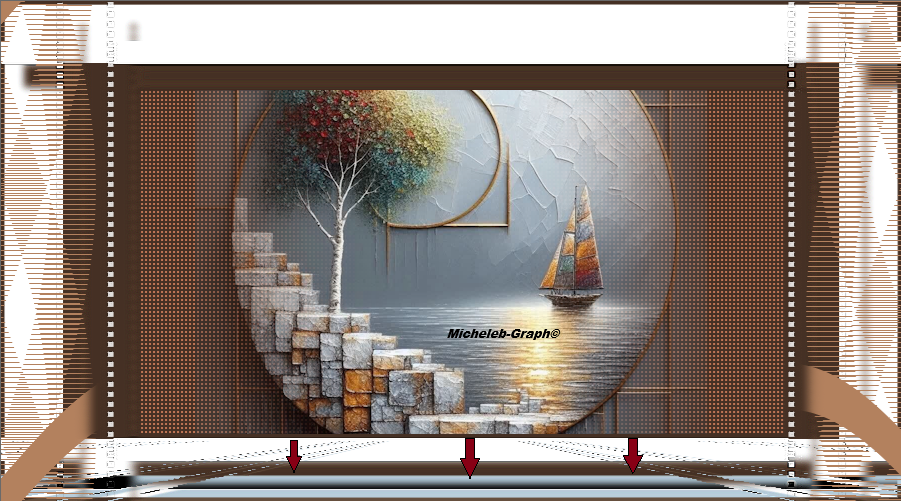 17 Enable top layer Open and copy the deco_nmcriacoes_150 Paste as new layer Position (K on your keyboard) 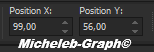 "M" to deactivate 18 Layers - duplicate Images - mirror - horizontal mirror Layers - merge - merge layer below 19 Enable the Copy Raster 2 group Layers - reorder - place at the top of the stack 20 Open and copy title Paste as new layer Position (K on your keyboard) 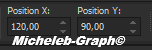 "M" to deactivate 21 Open and copy the main tube Paste as new layer Position (K on your keyboard) 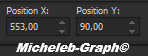 "M" to deactivate 22 Add your signature Add NaiseM’s signature Add my signature Translation Micheleb-Graph 23 Images - add borders 2 px - #5f666e File - Save as. Jpg Your image is finished Can you send it to me by email  Version of my tester Irène  INDEX  Ce(tte) œuvre est mise à disposition selon les termes de la Licence Creative Commons Attribution - Pas d’Utilisation Commerciale - Pas de Modification 3.0 France. |


