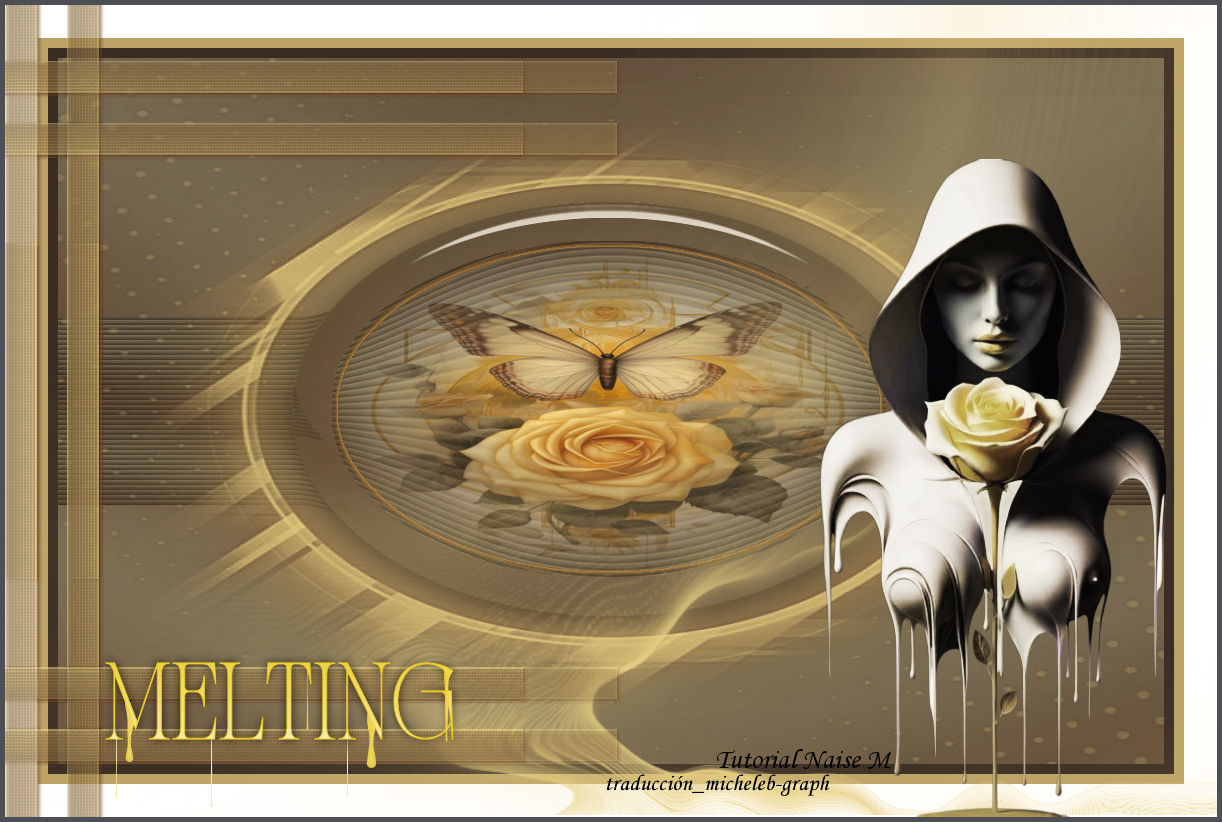
 All the tutorials are personal, created by NaiseM and translated by me Any resemblance to another on the Net would be pure coincidence. Tutorial created and translated with Psp 2020  Matériel  Filtres Mehdi - Wavy Lab 1.1 Toadies - What are You ? Nick Soft Wave 3.0 1 Open your alpha_melting 2 In the foreground, place #716650 - In the background #5d4938 3 Muhdi plugin - Wavy Lab 1.1  4 Duplicate 5 Effects - geometric effects - Horizontal Perspective  Repeat the geometric effect in negative  6 Effects - Texture effects - Blinds  7 Effects - distortion effects - Wrap  8 Layers - new layer Selections - Alpha Channel - melding_1 selection  Fill the selection with the following linear gradient  9 Keep the selection Filters - Alien Skin - Eye Candy5 - Textured - Weave Apply the Preset Texture_Melting  10 Always keep the selection Filters - Alien Skin - Eye Candy 5 - Impact - Glass Apply the Melting preset  11 Selections - modify - contract from 46 Press the "delete" key on your keyboard 12 Layers - new layer 13 Open and copy the Misted Paste in the selection Fusion mode - Multiply Layers - merge - merge layer from below 14 Effects - 3D - Chisel - #d38f3a or a color of your choice  Selections - do not select anything 15 Layers - merge - merge visible layers 16 Layers - new layer Fill with color #d9c178 17 Open and minimize the Narah Mask 1616 Layers - new mask layer - from an image - apply the Narah_Mask_1616 mask  Layers - merge - merge group 18 Adjustment - sharpness - more sharpness Effects - 3D - drop shadow V&H: 0 - 100 - 24,64 - #6f4521 19 Image - add borders 10 px - #392c23 10 px - #bba266 33 px - #ffffff 20 Open and copy deco_melting Paste as new layer With the selection tool (K) stretch the layer as below  Press "M" to disable 21 Layers - new layer Selections - Alpha Channel - Selection_Melting_2  Put in the foreground: #5d4938 and in the background: #d9c178 Fill the selection with the following linear gradient  22 Filters - Alien Skin - Eye Candy 5 - Texture - Weave  Selections - do not select anything 23 Filters - Toadies - What are you? - Default (20-20) Images - Free Rotation  24 Objects - align - left Layers - merge - merge layer from below 26 Layers - Duplicate Image - mirror - vertical mirror Layers - merge - merge layer from below 27 Effects - 3D - drop shadow V&H: 3 - 100 - 3.63 - #6f4521 Adjustment - sharpness - more sharpness 28 Open and copy the title Paste as new layer Position (K on your keyboard)  Press "M" to disable 29 Open and copy the tube Paste as new layer Position (K on your keyboard)  Press "M" to disable 30 Add your watermark and/or signature Add the watermark of NaiseM as well as mine Translation Micheleb-Graph 31 Image - add borders 5 px - #4d4f55 Layers - merge - merge all Save as. Jpg Your creation is finished, you can send it to me by email if you wish  Tutorial create on 03.01.26 Translated on 09.03.26 Version of my tester Irene 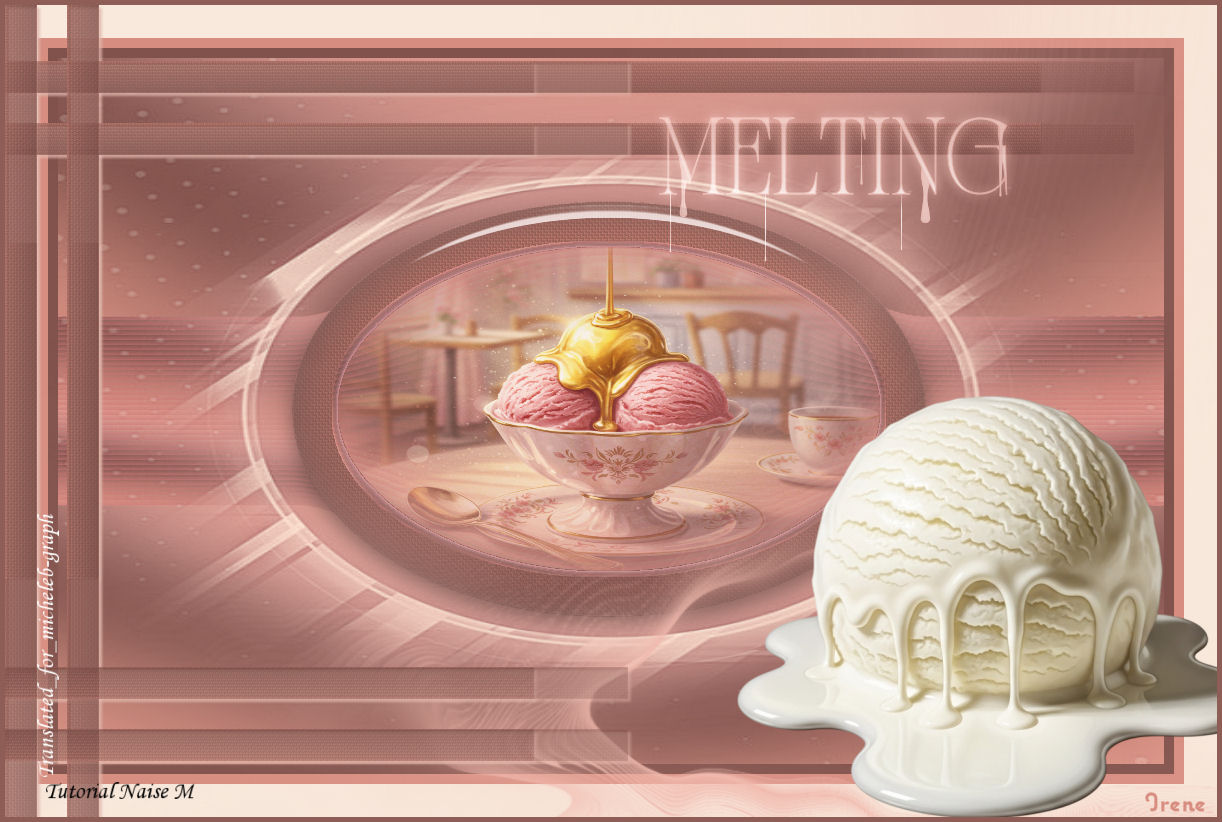  Ce(tte) œuvre est mise à disposition selon les termes de la Licence Creative Commons Attribution - Pas d’Utilisation Commerciale - Pas de Modification 3.0 France. |